| How to configure Remote Access 3.x |
 |
- Operating System(s): MacOS
- Operating System Version(s): 8.5, 8.5.1, 8.6, 9.0
- Application: Apple Remote Access
- Application Version(s): 3.1, 3.1.2, 3.1.3
|
| Follow the
steps below to configure Remote Access
3.x |
| How to configure Remote Access
3.x |
- From the Apple menu, click Control Panels, and choose
Remote Access.
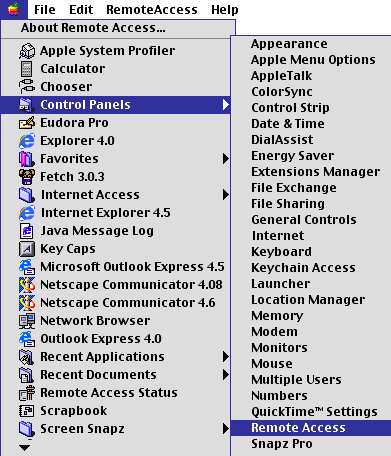
- In the Name box, type your email address (example:
username@azteca.net).
- In the Password box, type your password.
- Check the box next to Save password.
- Delete the contents of the Number box, and type your local
access number.
Note: Remember to check with your
local telephone company to make sure that the number you choose is a
local toll-free call.
- Click the Options... button.
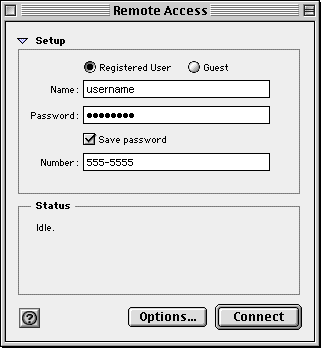
- Click on the Protocol tab.
- Click the arrow box on the Use Protocol pop-up list and
choose PPP.
- Check the box next to Connect automatically when starting TCP/IP
applications.
- Check the box next to Allow error correction and compression in
modem.
- Check the box next to Use TCP header compression.
- Click the OK button.
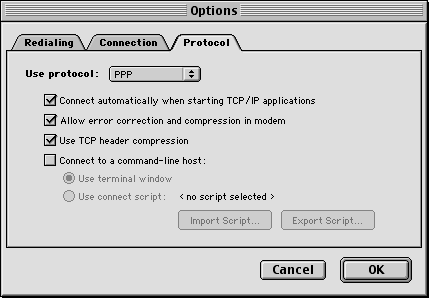
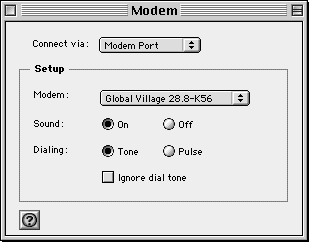
- From the RemoteAccess menu, choose Modem....
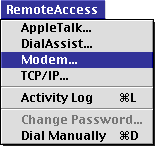
- Click the down arrow on the Connect via drop-down list and
choose the port your modem is connected to.
- Click the down arrow on the Modem drop-down list and choose
your modem's model type.
- Close the Modem window.
- Click the Save button.
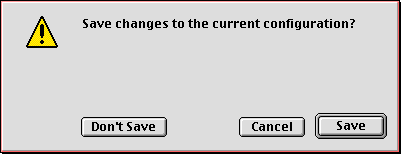
- Close the Remote Access window.
- Click the Save button.

| You have successfully configured Remote Access
3.x |
|