| How to Configure Windows 2000 to Connect to
AztecaNet |
 |
- Operating System(s): Windows 2000
- Application: Microsoft Dial-Up Networking
- Application Version(s): 4.0
|
| Follow the
steps below to configure Windows 2000 to connect to
AztecaNet |
| How to Configure Windows 2000 to Connect to
AztecaNet |
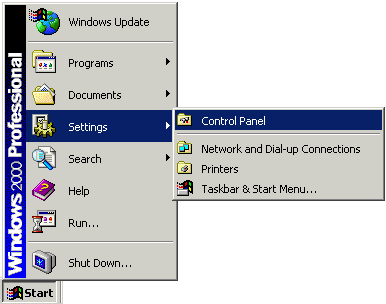
- Click the Start button, click Settings, and choose
Control Panel.
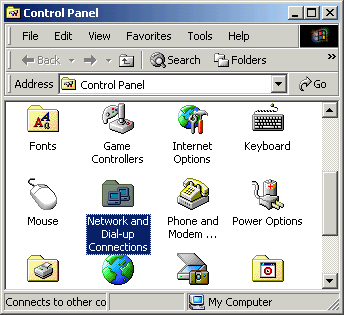
- Double-click the Network and Dial-up Connections icon.
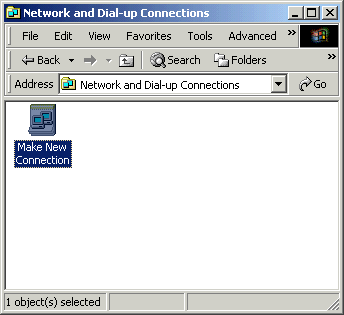
- Double-click the Make New Connection icon.
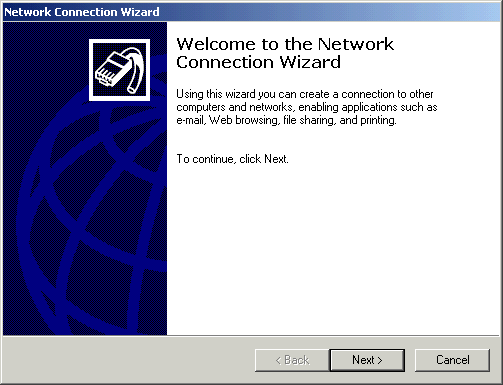
- Click the Next button.
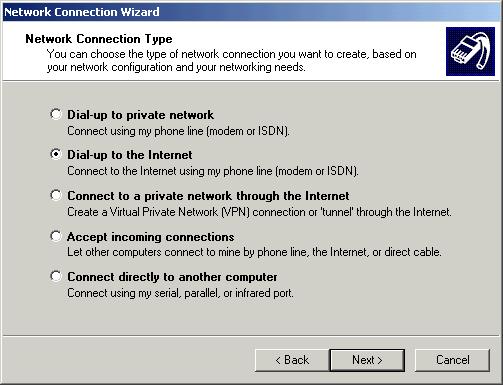
- Select Dial-up to the Internet.
- Click the Next button.
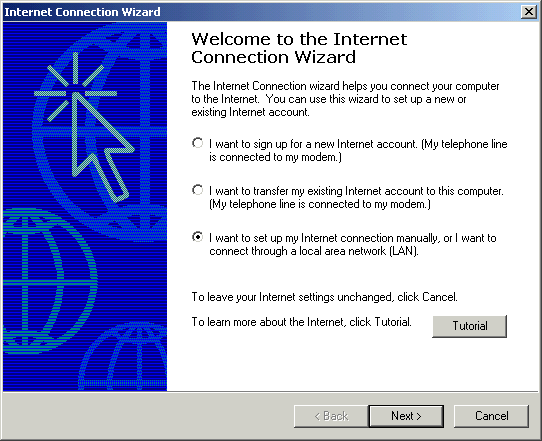
- Select I want to set up my Internet connection manually, or I
want to connect through a local area network (LAN).
- Click the Next button.
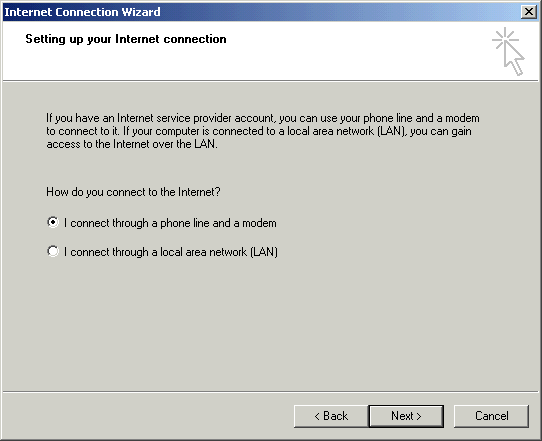
- Select I connect through a phone line and a modem.
- Click the Next button.
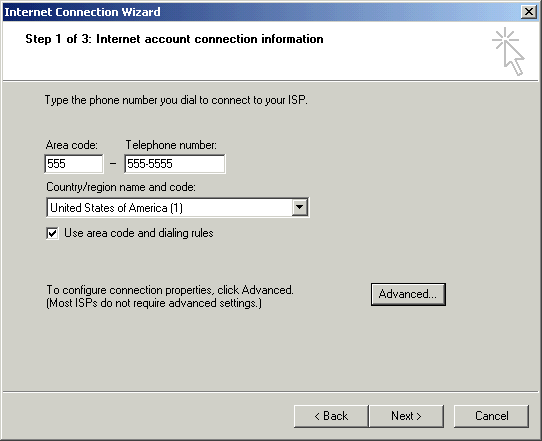
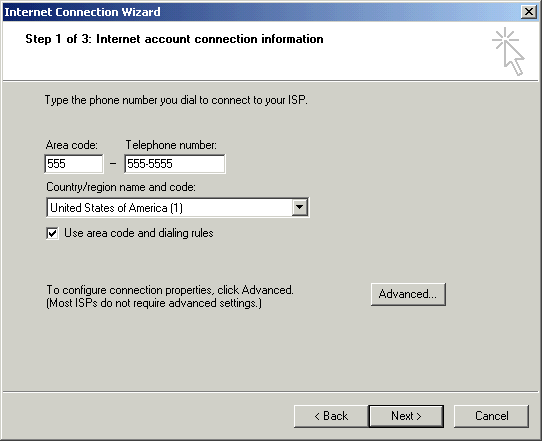
- In the Area Code field, type the area code of your local
access number.
- In the Telephone number field, type your local access number.
- Click the Advanced button.
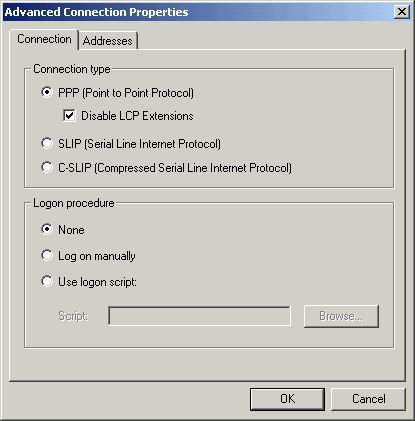
- Click on the Connection tab.
- Click the PPP (Point to Point Protocol) radio button in the
Connection type area.
- Check the box next to Disable LCP Extensions.
- Click the None radio button in the Logon procedure
area.
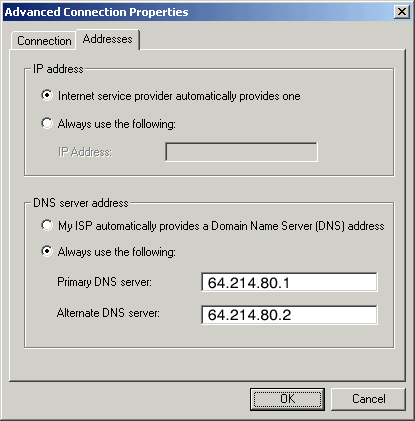
- Click on the Addresses tab.
- Click the Always use the following radio button in the DNS
server address area.
- In the Primary DNS server field, type a DNS server specific
to your domain (i.e. 64.214.80.1 for AztecaNet).
- In the Alternate DNS server field, type another DNS server
specific to your domain (i.e. 64.214.80.2 for AztecaNet).
- Click the OK button.
- Click the Next button.
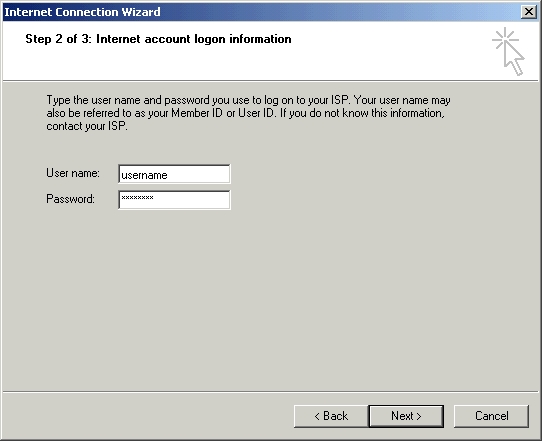
- In the User name field, type your email address.
- In the Password field, type your password.
- Click the Next button.
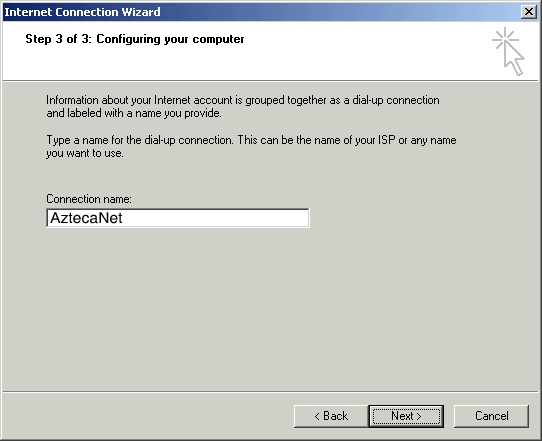
- In the Connection Name field, type your domain name (i.e.
AztecaNet).
- Click the Next button.
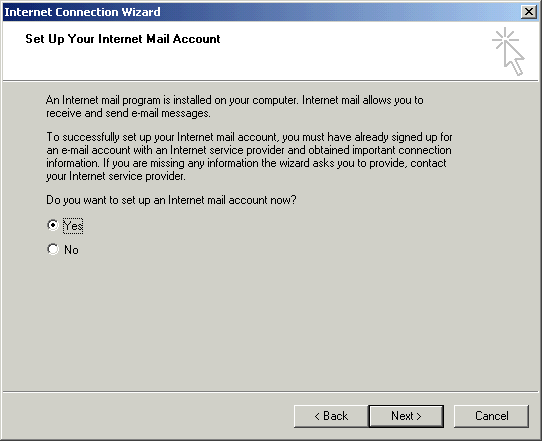
- Click the Yes radio button in the Do you want to set up an
Internet mail account now area.
- Click the Next button.
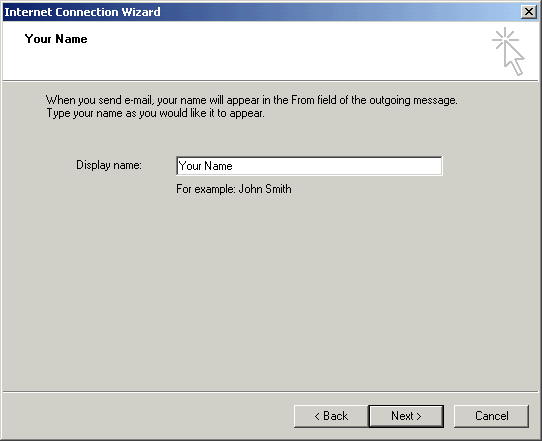
- In the Display Name field, type your name.
- Click the Next button.
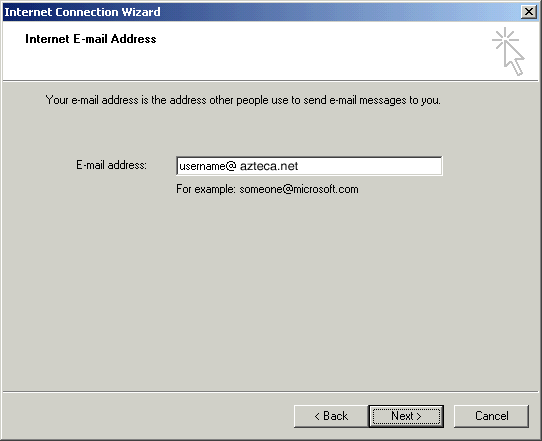
- In the E-mail address field, type your email address.
- Click the Next button.
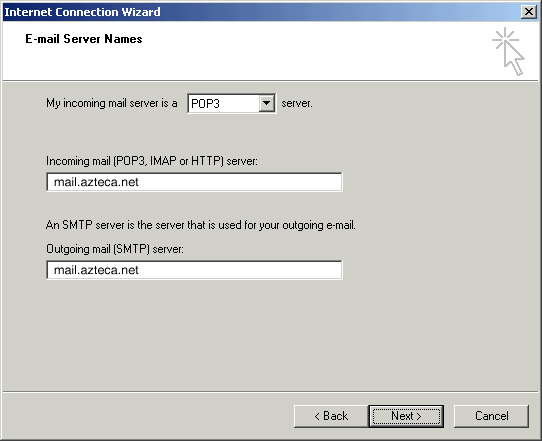
- Click the down arrow on the My incoming mail server is a __
server drop-down list and choose POP3.
- In the Incoming mail server field, type the POP3 mail server
name specific to your domain
( mail.azteca.net).
- In the Outgoing mail server field, type the SMTP mail server
name specific to your domain (mail.azteca.net).
- Click the Next button.
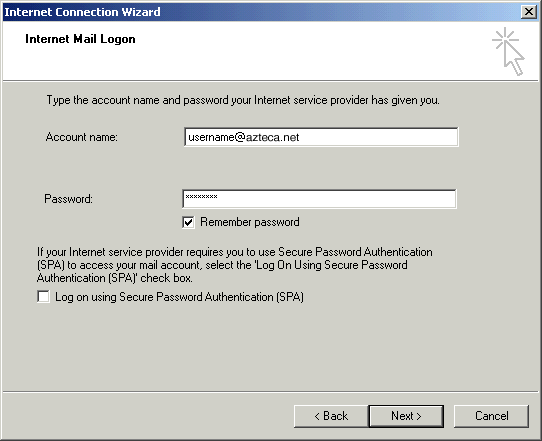
- In the Account name field, type your email address.
- In the Password field, type your password.
- Check the box next to Remember password if you would like to
have your password saved.
- Click the Next button.
- Check the box next to To connect to the Internet
immediately...if you would like to connect right away to the
Internet.
- Click the Finish button.
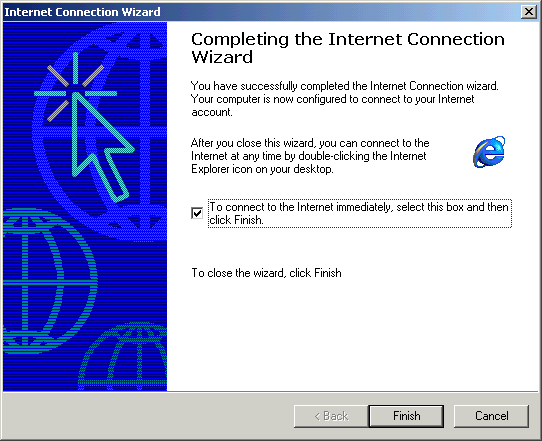
| You have successfully configured Windows 2000 to connect
to the Internet. |
|